Monday, March 19, 2012

Goat Update Week 4

This will be our fourth and final week of having the goats graze. They will be starting in between the 1st and 2nd fairways on #12, TTuesday. From there they will work right of the cart path by 12 tee, and move down the right side of #6 fairway. By Sunday the goats will be staged at the lots left of #5 for pick up.


Below are photos of last weeks progress.

In front of #8 Silver/Orange Tee before Grazing.

In front of #8 Silver/Orange Tee after grazing.

Hillside left of the pratice center before grazing

Hillside left of the pratice center being grazed.

Hillside left of the pratice center after grazing

Ariel photo in front of #6 tee before grazing.

Ariel photo in front of #6 tee after grazing.

Tuesday, March 13, 2012

Goat Update Week 3

This past week the goats have grazed several areas. Including left of the second landing on #18, right of the cart path on #10, all the way behind #9 Green, and #8 tee. This week they will be starting out between #8 and #9. They will then be moved to graze the slope left of the practice center by the main road, down to the home lots, and by Sunday they should be by the ponds in between the tee's and fairway on #6.

Below are photos of last weeks progress.


Behind 18 green before grazing.

Behind 18 green after grazing.

Left of 18 green before grazing.

View of the left side of 18 green after grazing.

This is the left side of the second landing of #18 before grazing.

This is the left side of the second landing of #18 after grazing.

This is a view of the area right of the cart path of #10 before grazing.

This is a view of the area right of the cart path of #10 after grazing.
This is a view of the goats working #18 from #10 black tee.

Tuesday, March 6, 2012

Goat Update Week 2


We are going on our second week of the grazing project. So far the goats have been going faster than we first anticipated, so we are going to be adding a few more areas to be grazed. This week we will be working in between the cart path on #10 and #7 all the way up to the walk bridge. From there we will move to the left side of #18 and work our way back  behind #9 green to #8 tee. 

Below I have photos showing the progress of the goats and there grazing.   


This is the first area that the goats grazed.
This is what it looked like the next day.


This photo shows the difference between a grazed (left side)  and non grazed plot (right side).


Left of 12 before it was grazed.

Left of 12 after grazed.
Left of 12 before it was grazed

Left of 12 after it was grazed


This is behind 10 before it was grazed.


This is behind #10 after if was grazed


This is were the goats are currently grazing. In this photo you can see the shepard has fenced off a stream that we are protecting. This keeps the goats from grazing it.

Tuesday, February 28, 2012

Got Goats?

We have a temporary addition to the Agronomy team, over the course of the next 30 days we will have goats on site. There is a total of 400 goats that will be maintaining 30 acres of over growth in the native areas around the course, eating most of the thistle and harding grass down to 2-4". Mostly in the areas between holes, such as between 8 and 9, 6 and 8, as well as between 11 and 12 where they will be starting .

This process of natural grazing has several benefits as it requires very minimal input.


Have you ever wondered what 400 goats looks like?

Wonder no more.
 The video below shows the goats being moved from the lots left of # 6 tee towards #8.


The video below shows the goats being be corralled between 6 and 8.


The video below shows the goats crossing in front of the bridge on #11. This is where they will be starting.


This photo is left of # 11 fairway, in their first pen. 
When you are on the course, please don't touch the fence containing the goat as its electric. It serves to contain and protect the goats from any predators.


The Electric fences around the goats are powered by a battery.


This is a view looking down at the goats from #10 tee.


For more information about the goats please reference the link below.
http://www.goatsrus.com/what_we_do.htm

Monday, July 11, 2011

Moss Control


One of the projects I've been helping with since my arrival a little over a year ago, is trying to control the moss that was encroaching on the greens. For anyone who has ever tried this already knows it is not an easy task. Moss is an issue because it interrupts surface aesthetics and smoothness. First we figured out what was causing the moss outbreak. After watching the irrigation run around our most problematic holes we concluded that excess moisture was a big contributor to our moss population . Some of the rough heads, and even fairway heads were hitting the greens surface on holes such as #6, and #11 for example. We also noticed that the formation of the moss followed the pattern of the heads hitting the greens. So are first plan of attack was to redesign the irrigation around the greens, which was done by Erik Dunster. For a curative plan we decided to try applications of quicksilver, after researching different strategies and contacting various sources.   

Listed below is the applications of quicksilver we made followed by photo's to show progression. We found that we got better results by making our applications with cooler temperatures.


Quicksilver 2010 Applications-

-          10/22/2010
o   Can –Hance Surfactant- 24 oz./A
o   Quicksilver T&O- 6.7 oz./A
o   Lesco 12-0-0-  2 oz./m
-          11/5/2010
o   Can –Hance Surfactant- 24 oz./A
o   Quicksilver T&O- 6.7 oz./A
o   Lesco 12-0-0-  2 oz./m
-          11/19/2010
o   Can –Hance Surfactant- 24 oz./A
o   Quicksilver T&O- 6.7 oz./A
o   Lesco 12-0-0-  2 oz./m
-          12/3/2010
o   Can –Hance Surfactant- 24 oz./A
o   Quicksilver T&O- 6.7 oz./A
o   Lesco 12-0-0-  2 oz./m
o  

Quicksilver 2011 Applications-

-          4/29/2011
o   Can –Hance Surfactant- 24 oz./A
o   Quicksilver T&O- 6.7 oz./A
o   Lesco 12-0-0-  2 oz./m
-          5/13/2011
o   Can –Hance Surfactant- 24 oz./A
o   Quicksilver T&O- 6.7 oz./A
o   Lesco 12-0-0-  2 oz./m
-          5/27/2011
o   Can –Hance Surfactant- 24 oz./A
o   Quicksilver T&O- 6.7 oz./A
o   Lesco 12-0-0-  2 oz./m
-          6/10/2011
o   Can –Hance Surfactant- 24 oz./A
o   Quicksilver T&O- 6.7 oz./A
o   Lesco 12-0-0-  2 oz./m


This photo on the right side of #6 green was taken after the second application on 11/5/10. This is when the moss starting turning a copper color and stopped spreading.


This photo was taken after the third application on 11/19/10. After the third application the moss was really starting to hurt, which is evident by the sunken appearance
This photo was on Monday 6/27/11. In this photo you can see that we have almost eliminated the moss on the greens.

This is another photo of the right side of #6 green  taken after the second application on 11/5/10. The overhead view shows how dense the moss was.
This photo shows our current moss population, which has been greatly reduced by 90-95%.

This is a close up view of the moss on #6 green after the second application on 11/5/11.


This is a current view taken 6/27/11.

This is one of the few dead spots of moss on the right side of #6 green.

In this photo you can see the bentgrass rooting through the moss.


I would like to personally thank Brian Mcdonald at the Oregon State Turf Farm, he provided me with information he gathered from doing trials with quicksilver and moss on bentgrass greens.


Thursday, May 19, 2011

NCGA Area of Emphasis: Small Scale Course Projects- Drain Repair

Early Spring is a good time to get small projects out of the way, especially before temperatures start rising and shift most of  the focus to water management. One of the small projects I worked on was raising a low drain on #16 Fwy. I took several photos to show the process.


This photo shows the low drain on #16 Fwy. Low drains are problematic for several reasons such as damage to equipment, and it also prevents the turf around the drain from being mowed at the proper height. As you can see in this photo.


Tools for the job, plywood to keep the area around the drain clean, as well as the necessary shovels.

The first step is to remove the sod around the drain. To do this I used a sod shovel.

The pieces are taken out in quarters, and placed turf down in the order of removal. This is done to make the replacement easier.

I used the sod shovel to make sure all the pieces are the same thickness, which helps with leveling around the drain later.

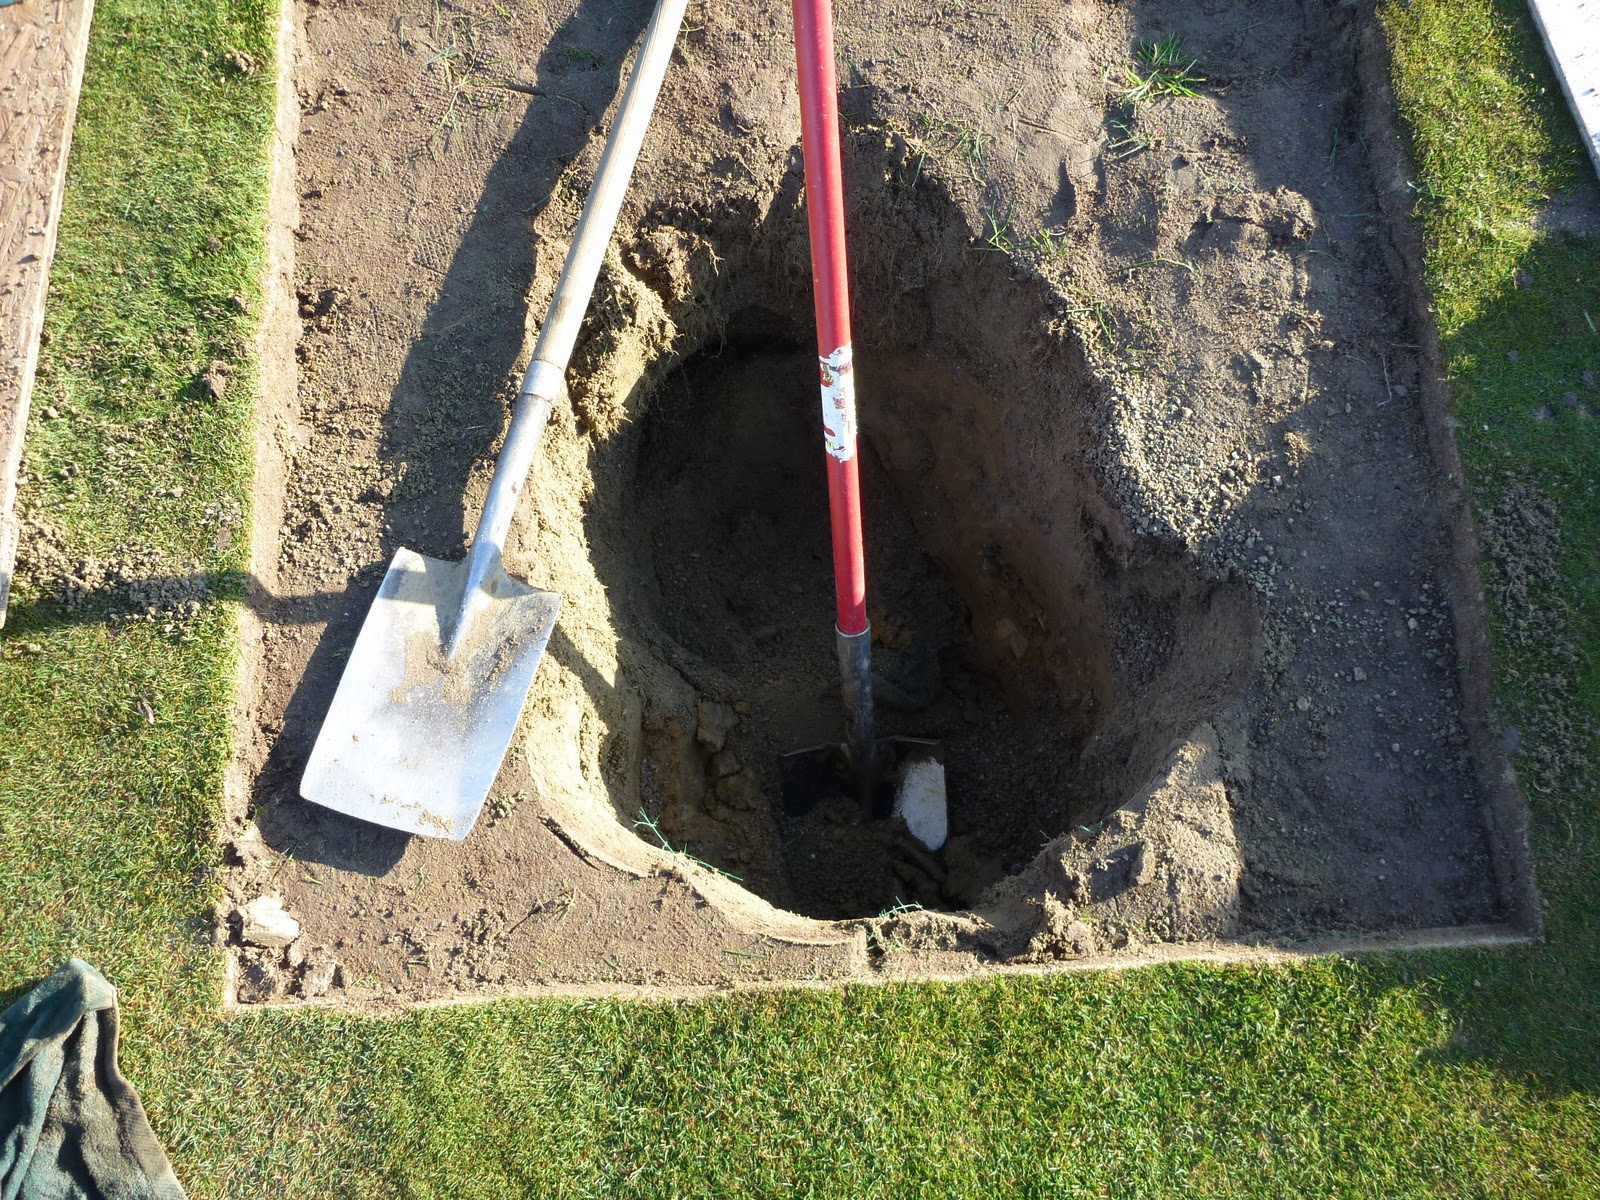
Once the sod is removed the drain can be dug up, and raised/ fixed it necessary. I used two pieces of plywood so I could separate the soil from the pea gravel, I did this because I planned on replacing the soil with sand,

digging up the drain.

After I removed the drain, I placed a towel and shovel over the drain pipe. This ensured no debris would get in the pipe as i cleaned around it.


This is the drain pipe after I cleaned around it.


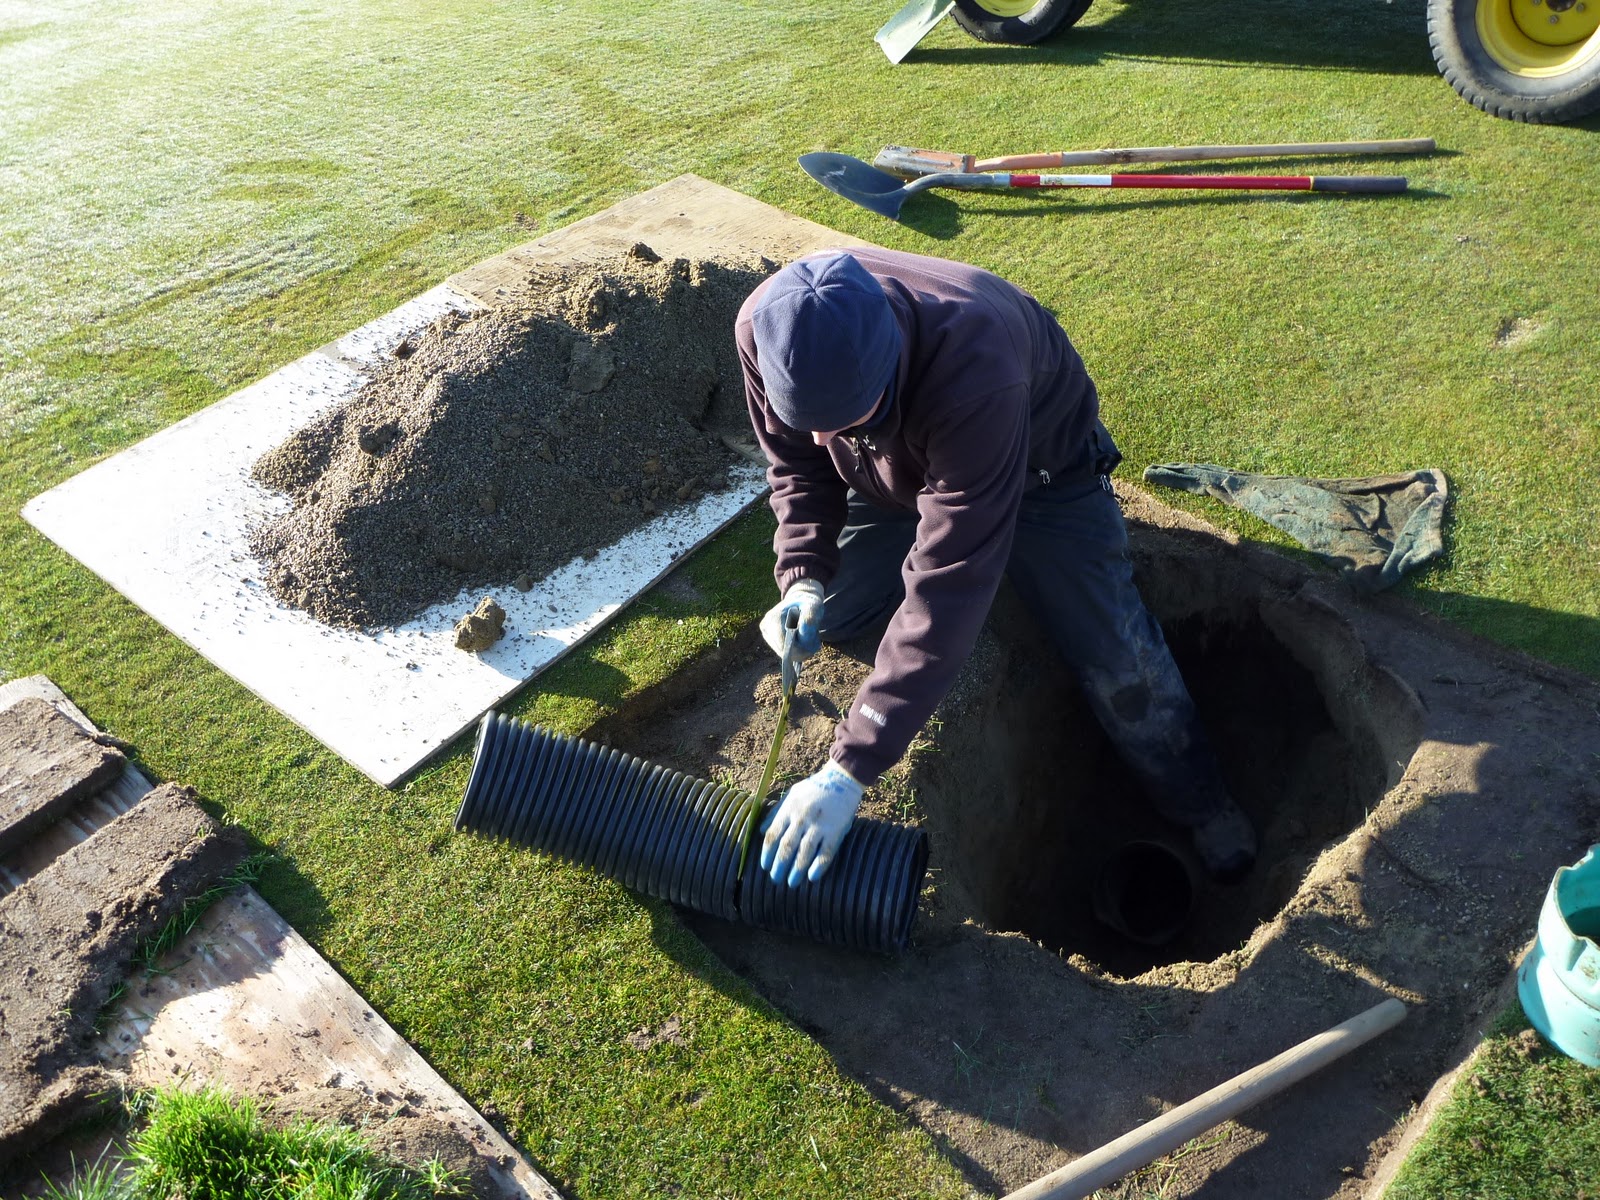
On this drain we cut a new piece of pipe to level it.

This photo shows Erik cutting the pipe.

Once the pipe is cut to length the drain is re-installed, and then gravel is packed around the pipe.

This shows that the drain is now level.


After I leveled the drain I added sand and packed it. Now it is ready for sod.

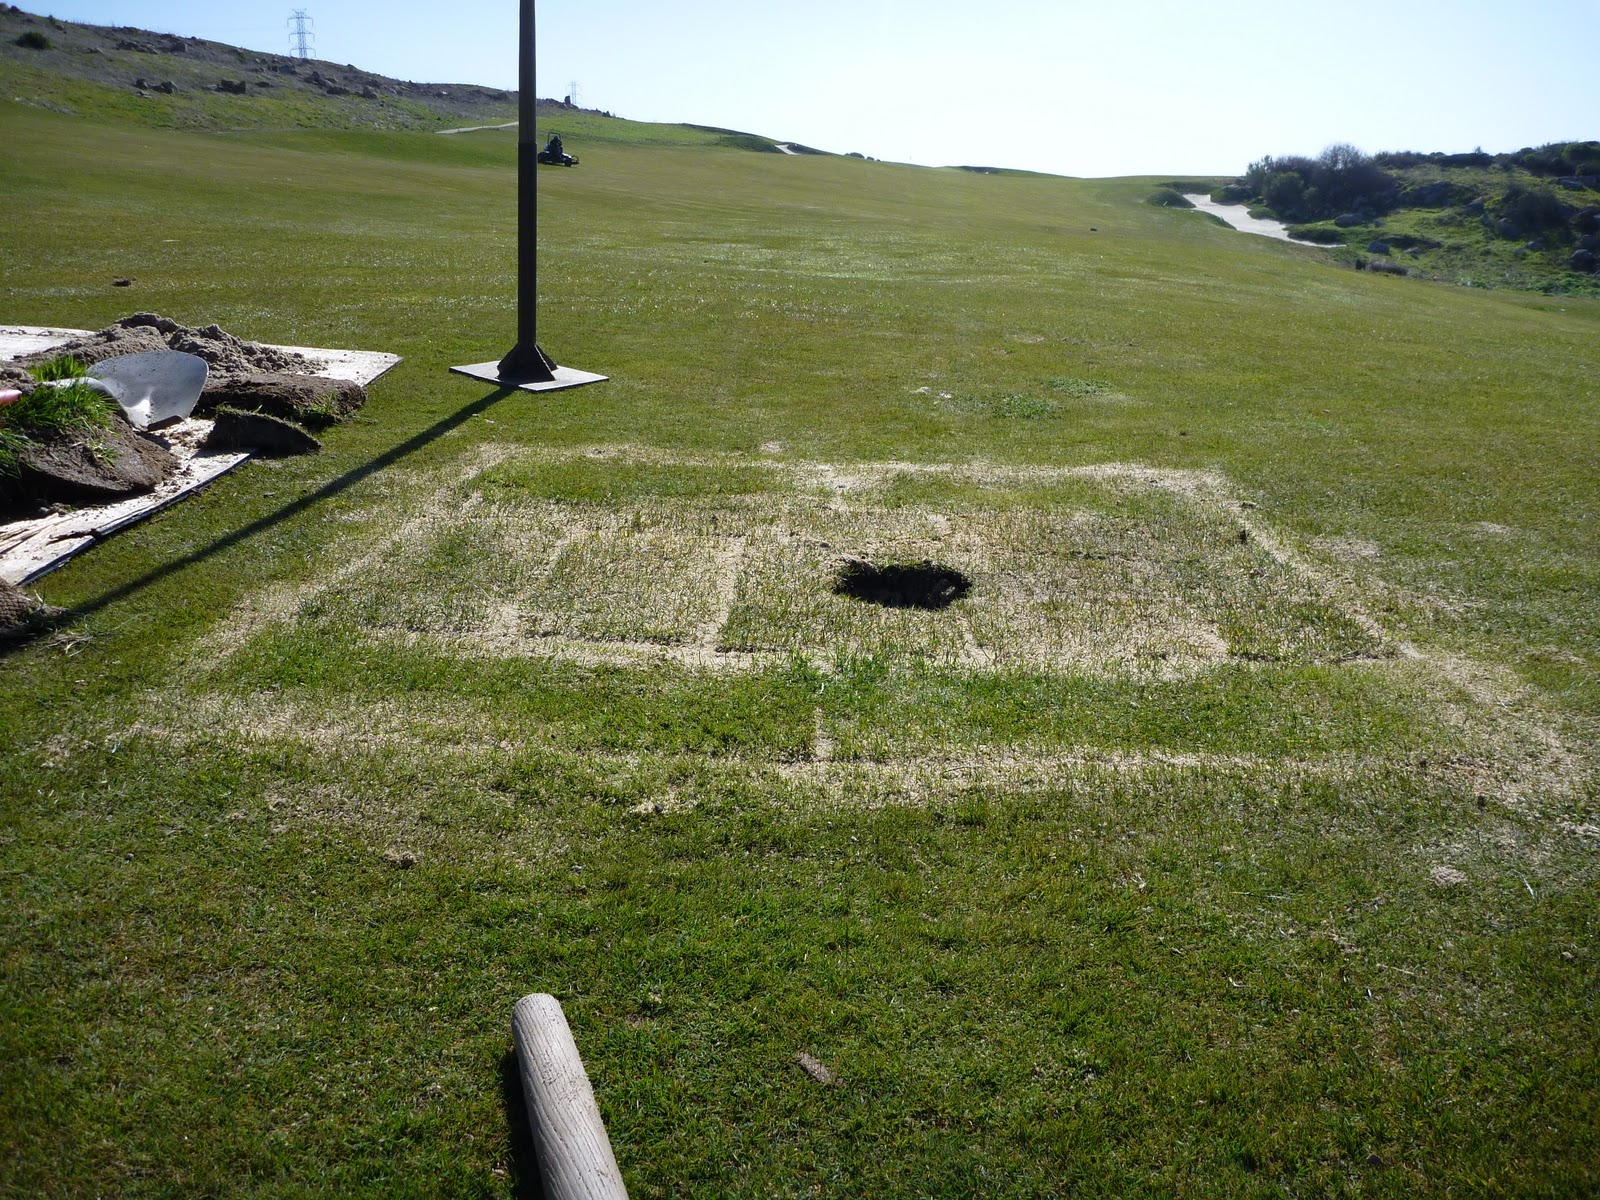
After I replaced the sod around the drain, I filled the seams with sand. This keeps them from drying out and also helps with recovery time.

This is what the finished product looks like.


The drain is now level